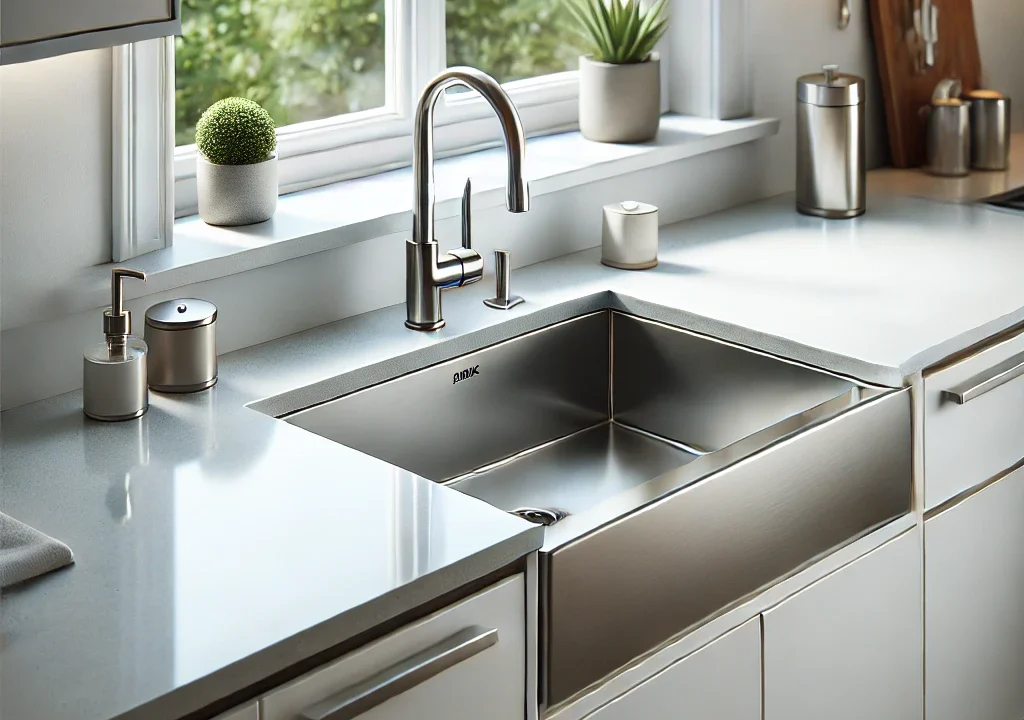
A flawlessly sealed kitchen sink is more than just functional; it’s a cornerstone of a clean, hygienic, and visually appealing kitchen. By investing time in proper sealing, you not only prevent water damage and mold but also enhance your kitchen’s overall aesthetic. Let’s delve into the art of sink sealing.
Choosing the Perfect Sealant
Selecting the right sealant is paramount for achieving a durable and watertight seal. Silicone sealant, renowned for its exceptional water resistance, flexibility, and durability, is the ideal choice for kitchen sinks. SILIMAX Kitchen & Bath Sealant stands out as an excellent option due to its advanced formula designed specifically for high-moisture environments.
Essential Tools and Materials
To ensure a successful sealing project, gather the following:
- SILIMAX Kitchen & Bath Sealant
- Caulk gun
- Utility knife
- Isopropyl alcohol
- Clean cloths
- Masking tape (optional)
Preparation is Key
A clean and dry surface is essential for optimal sealant adhesion. Follow these steps:
- Clear the Area: Remove any items around the sink to provide ample working space.
- Remove Old Sealant: Carefully remove the old sealant using a utility knife. For stubborn residue, isopropyl alcohol can be used to clean the surface.
- Dry Thoroughly: Ensure the area is completely dry before applying the new sealant.
Application Mastery
- Protect Your Surfaces: Optionally, apply masking tape around the sink to prevent accidental sealant application on the countertop.
- Load the Caulk Gun: Fill the caulk gun with SILIMAX Kitchen & Bath Sealant.
- Create a Perfect Bead: Cut the tip of the sealant tube at a slight angle to create a small opening. Apply a continuous, even bead of sealant along the gap between the sink and countertop.
- Smooth and Shape: Use your finger or a caulk finishing tool to smooth the sealant, creating a clean and professional finish.
- Remove Masking Tape: Carefully remove the masking tape while the sealant is still wet.
Curing and Care
- Cure Time: Allow the sealant to cure completely according to the manufacturer’s instructions.
- Initial Care: Avoid excessive water exposure or heavy use during the curing process.
- Ongoing Maintenance: Regularly inspect the sealant for signs of wear and tear. Re-apply sealant as needed to maintain a watertight seal.
By following these steps and using a premium sealant like SILIMAX Kitchen & Bath, you can achieve a flawless and long-lasting seal for your kitchen sink.
Frequently Asked Questions
- How often should I reseal my kitchen sink? Inspect the sealant every six months and reapply as needed. Signs of wear, cracking, or mold indicate the need for resealing.
- Can I use a different type of sealant on my kitchen sink? While silicone is the preferred choice, some acrylic sealants may be suitable for specific countertop materials. However, silicone offers superior water resistance and durability.
- How long does it take for silicone sealant to cure? Cure time varies depending on the product, but typically it takes 24-48 hours for the sealant to fully cure.
- Can I paint over silicone sealant? No, silicone sealant is not paintable.
Ready to Perfect Your Kitchen Sealing?
Shop SILIMAX Kitchen & Bath Down Below


